Search This Blog

Tuesday, July 21, 2015

Finished! Fit and Flare B6053 - Stash Buster #32 and 35 (of 48)

Finally!  B6053 is satisfyingly and tantalizingly done!

Cute little dress - the fit was good, I am not thrilled with the zipper finishing, but I was quite comfortable in the 29C (+100% humidity) wedding weather.


Instead of the prescribed hook and eye I had a sweet salvaged silver button with a crystal and I added an elastic loop.  I bought this zipper from a clearance bin at Fabricland last year, and it was too stiff for this fabric, too long, originally a separating zipper, and hence why I am not thrilled with the final look at the bottom - but it rocks this dress!

The faced hem is really nice - I used navy satin.
I used top-stitching thread - and I changed the order that I top-stitched: I sewed entire components together (the whole bodice) before I top-stitched - so I did all the vertical lines - and then attached the sleeves and midriff and top-stitched all of the horizontal seams - and then proceeded similarly with the skirt. - It was too much thread changing to do it when the pattern instructed (after every seam).

I wrote to McCall's and commented on the pattern - They replied and acknowledged the cutting confusion for the front piece (cut 2, not on the fold) - but I didn't feel like they were looking for constructive follow-up (really, this pattern is printed and probably mostly sold) so I will offer my advice to you (because you are either reading this because you love me and will skip the next bit - or because you are looking into making this dress.)
  • Trim your seam allowances on the neckline an sleeve.  
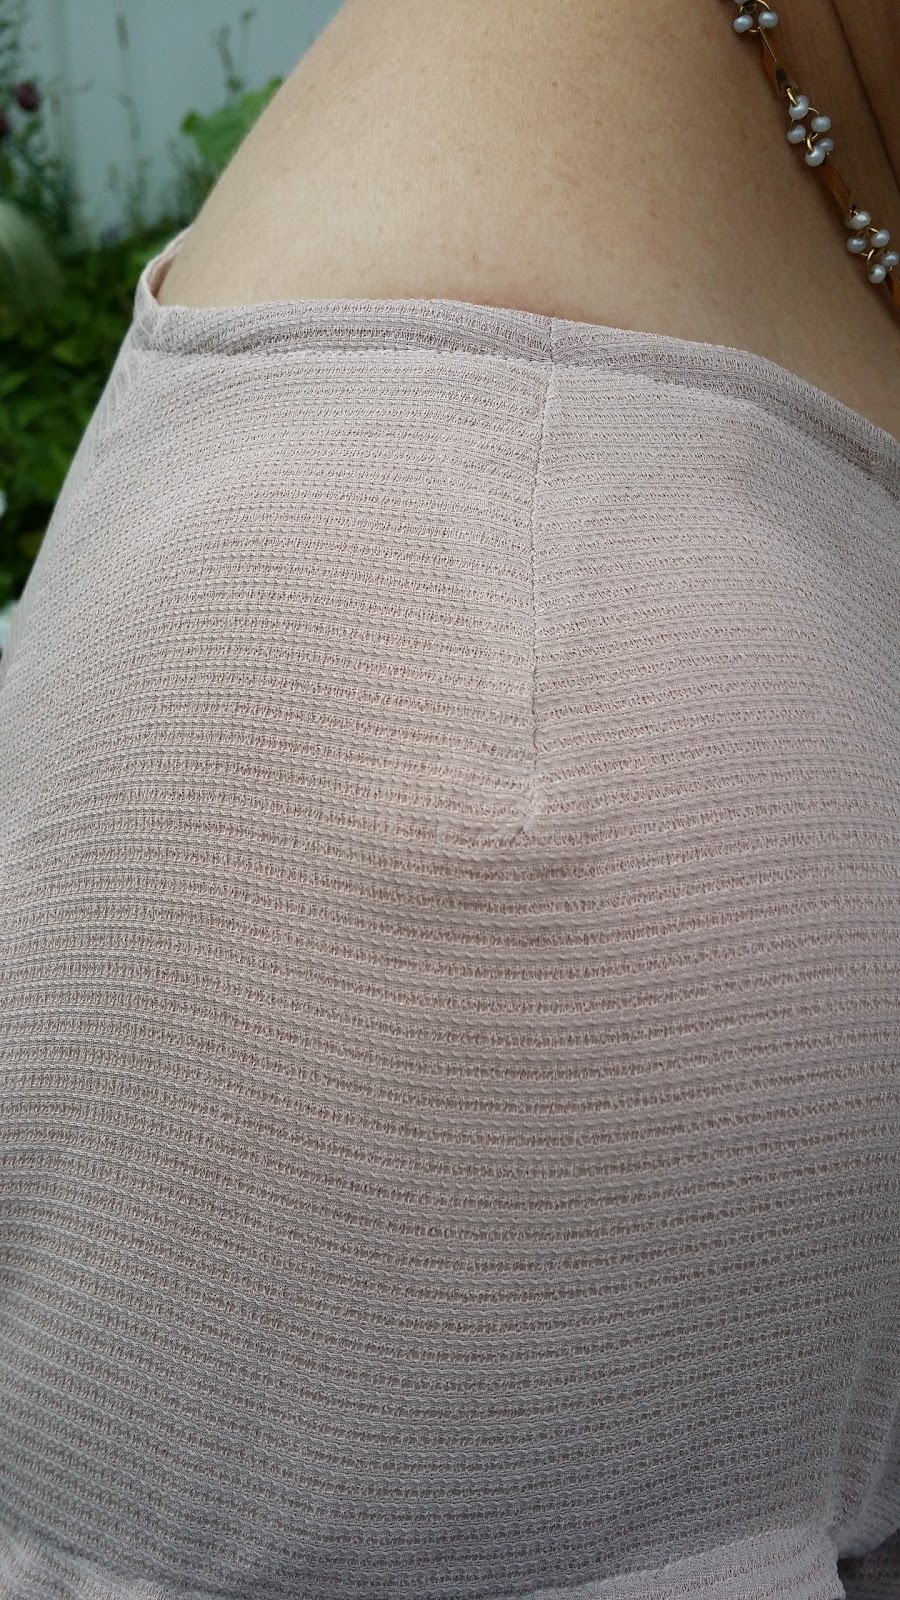
  • Stay-stitch and Clip your curved seams (in the bodice).
  • Plan your zipper before you cut your good fabric.  
  • Unstated in the instructions, the skirt part of the zipper has a 5/8" seam allowance ALL ALONG THE CUTAWAY - I didn't like the zipper design on this pattern.
  • The sleeves: practice this (if you make a muslin - it's worth the practice) it's tricky for an inexperienced sewist - I saved my top-stitching for the sleeve edge and underarm until the garment was complete.
  • Test to see if your machine/ fabric can handle a twin/triple needle for this project's top-stitching.  The twin worked well for me. 


So - I might make this again - I think it would be a great denim dress, and I may reconsider the skirt - there's a funny drape at the back of the butt - I am not sure if it's the fabric or the weird zipper or the pattern shape for the drafted zipper.

All in all - I love the bodice now that it is fitted - I may draft a straight Aline for a denim dress.

M7093 Godets on a Woven Raglan T! (Stash Buster 33 and 34 - of 48)

After two weeks on B6053 I needed a quick top - something pretty and easy (and colourful after all that heathered grey crepe.   Baby and Hubby were sick, so I put them to bed and went to the basement.  I really enjoyed whipping up my first M7093 :


But, it was too snug at the hips (bring on the food scale!).

So I pulled out another intended combo of fabrics with no assigned pattern from my stash:

I graded up sizes at the hips AND... I LOVE IT


(I see from these pictures though, this fabric calls for a seamless bra)
The grading worked well, and the addition of the stretch lace is cosmetic only (but I thought I might need it when I was working on it).
I studied and studied the fabric to try to decide which side was the right side, and decided that I liked [what I presume is] the wrong side best.  The side front godet is a stretch lace, and the main fabric is a wool/silk/viscose (gerorgette? - the label only had fibre content) that I picked up in the secret apparel fabric stash at my local quilting shop.  (The owner of the shop is a secret apparel sewist and brings in minimum orders from time to time from a quality fabric supplier - and I tend to buy the ends of her bolts when they go on reduction)

I think if I ever sew with a similar fabric I will stay stitch the heck out of the pieces - luckily I was able to call out my inner pressinatrix (oh Ann, I have such admiration!) and steam the edges back into shape.  I pressed EVERY SINGLE STEP for this garment - I think that's why my shoulder and godet looks so pretty.

I read recently in a variety of pinning places that you should never stitch over an unpressed seam - and I have taken it to heart.  


So - is this a georgette?

(wow - that's a big picture, but I'd like to know what to call this fabric)  

I used French seams (the fabric is pretty well behaved, but I wasn't sure it wouldn't shred with wear), but left the shoulder dart open, and I did a light overlock stitch on the hems before turning them and stitching them.


DREAMY fabric - and perfect for 30C days - it will have to be put away for the other three seasons, though, I feel nearly naked.

I will definitely sew this pattern over and over - though I may change the front neckline to less boat and more slight scoop.

Tuesday, July 7, 2015

Fit and Flare B6053 - or, My new suit of armor

Remember this?


Well - I am finally happy with the fit of the muslin:
here's where I started:
All Skirt Panels - Extend the cutting line to lengthen by 3"
Hem Panels - Increase each piece to accommodate the bigger circle
Used the D Cup Pieces
Here are some photos of the needed adjustments:
convenient-to-take darts at the raglan sleeve seam

significant spread at the midriff
 
Darts at the front neckline, some shaping for my bust line, which raises the arm scythe by 1.5 cm.

So - back to the tracing table!  I had to redraw the neckline on the should pieces, and slash and spread the front midriff - essentially making a curved band.  I also redrew the front skirt panel to meet the expanded midriff.

So stitched up and experimenting with the pattern's instructions for binding and testing the various topstitching possibilities - and this is what I ended up with:
I's pretty boobalicious, but the fit is good - maybe a tad overfitted.

The back is not overfitted. I made a small swayback adjustment, and my prominent rear usual issue should be fine:  I think the weight of the skirt will sort out the midriff.

Maybe I should have done a shoulder adjustment... I haven't needed one before, but I see the curve in my shoulder/neck.... I think I might need to go chat with my chiropractor.  It's carrying DS (the Younger) around I think.

The binding treatment on the neckline and upper sleeve is awkward - I am not sure that I will stick to the pattern directions when I finally get to the seafoam gabardine

So now I am on to the first wearable version - I am making it out of a lovely heathered grey crepe.  I am not sure of the fibre content but it feels like butter.
 
Here are some tests of the twin needle - I am going to do navy topstitching and use a pretty navy zipper with crystals on the teeth

Here's hoping!


Friday, July 3, 2015

I have been "short"-listed for the Shorts on the Line Challenge/Contest!

I am so pleased to have been selected as one of the 21! This was a fun challenge that fit in with my plans!
Please go click on the heart above my bum: http://imaginegnats.com/shorts-on-the-line-2015-viewers-choice-voting/

Thursday, July 2, 2015

In which she endeavors to make a Fit and Flare Dress for a Curvy Body.... B6053

Hello my imaginary friends!
I have been hard at the math trying to make B6053 fit my curves!

It's a wonderful challenge - and no tears (the eye kind) yet.
OH! I want to thank Angela Kijauskas for pointing out that there was an error in the pattern for the skirt and saving me time!  (It ISN"T to be cut on the fold)

Muslin #1 was a straight 18D - hoping against ration that it would simply be perfect for me. I altered the pattern to make the skirt longer with following adjustments:
All Skirt Panels - Extend the cutting line to lengthen by 3"
Hem Panels - Increase each piece to accommodate the bigger circle
Used the D Cup Pieces

So - Muslin #2 is traced with the following adjustments:
Front Shoulder Piece - Redraw the neckline curve to accommodate the adjustment to the front bodice
Back Shoulder Piece - NO CHANGE (!!!)  [I doubt this is correct - Muslin #2 will find this]
Front Bodice - Take a dart at the neckline - at the shoulder piece seamline,
Side Bodice Front  - take a pinch-dart in the pattern to reduce the arm scythe (results in raising the opening by 7/8" at the underarm)
Back Bodice - Take a dart at the neckline - at the shoulder piece seamline, 3/8" Swayback Adjustment
Side Bodice Back - take a pinch-dart in the pattern to reduce the arm scythe
Midriff Front - Complete Re-Draft to allow for prominent tummy, increase of 1.75" on each side (!!!)  I used a Sandra Betzina method (slash and spread several times to "spread" the "spread over several adjustments).  This is essentially a curved waistband now....  [it's an experiment - maybe this will become my planned cummerbund belt]
Midriff Back - NO CHANGE (!!!)
Front Center Panel of Skirt - Slash and Spread the piece to increase the waistline by 1.75"

Pictures of this Muslin to follow - Muslin #1 wasn't decent (it was more a peplum than a dress - and I had to slash like crazy - I looked like an 80's Horror Movie-star Victim)